Can You Use A Steamer For Iron-On Patches? Recommended Iron Temperature & Tips
Wondering if you can use a steamer for iron-on patches? In this guide, we explore how well steamers work compared to traditional irons. We offer essential tips for achieving a secure bond, including the recommended iron temperature for various fabrics. Whether you’re a seasoned patch applier or this is your first time, let us help you learn the best practices for a flawless finish.

Key Takeaways
- It is not recommended to use a steamer for iron-on patches as the moisture could potentially weaken the adhesive bonds.
- Instead, we recommend that you use a traditional clothing iron set at a suitable temperature for your fabric, ensuring the steam function is deactivated.
- For successfully iron-on applications, apply firm, even pressure and use a dry iron over a pressing cloth.
- When applying patches, make sure the fabric is clean, dry, and wrinkle-free.
- We supply high-quality custom patches in a range of materials with iron-on backings and more, enabling you to find the perfect solution at a competitive price.
Table of contents
-
Can You Use A Steamer For Iron-On Patches?
-
Can You Use A Handheld Steamer Instead Of An Iron To Attach A Patch To Clothing?
-
How To Iron On Plastic Patches?
-
What Can You Use Instead Of An Iron For Iron-On Patches?
-
Do You Use Steam Or Dry Iron For Iron-On Patches?
-
Can You Use A Hair Dryer For Iron-On Patches?
-
Can I Use As A Pressing Cloth For Iron-On Patches?
-
How Do You Iron-On Patches At Home?
-
Do You Use Water In An Iron For Iron-On Patches?
-
Can You Iron On Patches With A Hair Straightener?
-
Best Iron Temperature For Iron-On Patches
Can You Use A Steamer For Iron-On Patches?
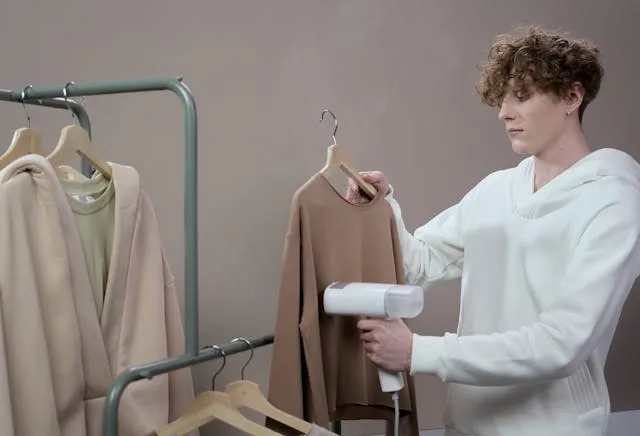
We cannot generally recommend using a steamer for iron-on patches. The moisture of the steam may inhibit the adhesive’s ability to bond with the fabric effectively. Traditional irons deliver direct, consistent heat to activate the adhesive properly, whereas steamers bring moisture into the mix that can compromise it.
We recommend you learn how to iron patches on. If you really want to use a steamer, here is a basic method:
- Preheat the steamer until it produces steady steam.
- Place your garment on a flat surface and ensure it is wrinkle-free.
- Place the patch with the adhesive side down.
- Hold the steamer close to the patch without making direct contact and steam evenly for 30-60 seconds.
- After steaming, press the patch firmly with a cloth until it cools completely.
This may not offer the most reliable results.

Do You Use Steam For Iron-On Patches?
It is not recommended to use a steamer to iron on patches. The steam can interfere with the adhesive, undermining its bond to the fabric. Dry heat is always the better option to achieve a strong attachment. Steam is great for removing wrinkles from fabric, but it offers no real benefits for attaching patches.
The drawbacks of using a steamer include:
- Moisture weakening the adhesive, undermining the bond.
- Patches falling off and requiring reapplication.
- Potential for uneven bonding.
We strongly recommend that you use a traditional iron instead, set to the appropriate temperature your fabric and with the steam function deactivated. Apply firm, even pressure for 15-20 seconds and let it cool for a secure bond. If you do it this way, you will achieve a much stronger adhesion for a durable attachment.
Can You Use A Handheld Steamer Instead Of An Iron To Attach A Patch To Clothing?
Using a handheld steamer is vastly inferior to using an iron to attach an iron-on patch to clothing. A handheld steamer can smooth fabric with a little heat and moisture, but it lacks the direct, dry heat that activates the adhesive in iron-on patches. None of the benefits of handheld steamers relate to patches, but their drawbacks for this purpose include:
- Weakening the adhesive with moisture.
- Not being able to provide the firm, even pressure needed for a secure bond.
A traditional iron, on the other hand, is able to deliver high temperatures, dry heat, and firm pressure to achieve a good adhesion to your clothing. You need to follow best practices, but custom heat transfer patches like ours are designed for iron-on applications and this works a lot better than using a handheld steamer.
Choose custom iron-on patches that are easy to apply
When you create iron-on patches with our online service, they are easy to apply with an iron or other method from this post to achieve a robust attachment.
How To Iron On Plastic Patches?
You need to pay special attention to iron on plastic patches successfully to avoid damaging the patch and the garment. We recommend using a low heat setting on the iron to avoid melting the plastic, and place a pressing cloth or parchment paper on top of the patch to shield it from direct heat. This is also important when you iron on patches on nylon, as the synthetic fibers are sensitive to heat.
Here are the steps:
- Preheat the iron
- Position the plastic patch on the garment.
- Cover the patch with a pressing cloth or parchment paper.
- Apply firm, even pressure for 10-15 seconds, not moving the iron.
We recommend testing the iron on a small, inconspicuous part of the patch first. Don’t use steam as this is likely to weaken the adhesive. Make sure the patch cools completely before you handle it.
What Can You Use Instead Of An Iron For Iron-On Patches?
If you lack the basic equipment, there are several solutions to iron on patches without an iron:
- Hair dryers: These are convenient and widely available, but may not provide the consistent heat needed for a strong bond. Use this only for lightweight patches.
- Heat presses: These provide uniform heat and pressure to achieve a strong bond, but they are expensive and uncommon items. Use them for large patches or bulk applications.
- Hair straighteners: These are easy to maneuver and offer focused heat delivery but their limited surface area means they might require multiple applications. Use on small-medium patches.
These alternatives can work, but results may vary. For best results with our custom iron-on patches, use a traditional iron or heat press and follow the process carefully to achieve a strong bond.

Want to add a patch to your hat the easy way?
Our custom iron-on patches for hats can be created with vibrant and intricate designs, and you can apply them with an iron or other heat source.
Start hereDo You Use Steam Or Dry Iron For Iron-On Patches?
When working with iron-on patches, we strongly recommend that you use a dry iron over a steam one. Let’s compare the two:
- Dry irons: These provide consistent heat to activate the adhesive effectively. They may require careful temperature monitoring, but they are suitable for most patch types, even with intricate designs or delicate materials.
- Steam irons: These help remove wrinkles from fabric, but the steam could weaken the adhesive in an iron-on patch, resulting in a poor bond. We don’t recommend them for applying any type of iron-on patch.
When you use a dry iron, you are more likely to get a reliable bond by maintaining consistent heat without bringing moisture into the equation. This is the better option for all patch types to achieve a firm, long-lasting attachment. Avoid steam if you want to get the best results for your iron-on patches.
Can You Use A Hair Dryer For Iron-On Patches?
You can use a hair dryer for iron-on patches, but it is not ideal. The hair dryer may generate enough heat, but it cannot apply the pressure to achieve optimal adhesion with our custom iron-on patches.
Here’s how you could use one:
- Lay your garment on a flat, heat-resistant surface.
- Position the patch where you want it with the adhesive side down.
- Set the hair dryer to its hottest setting.
- Hold the hair dryer close to the patch and move it back and forth for 2-3 minutes.
- Use a pressing cloth to apply firm pressure with your hand for 30 seconds.
This is a convenient and accessible solution for many. But it will not provide consistent heat distribution or the pressure needed for a strong bond, so there is potential for a weak adhesion. It may be a viable solution in a pinch, but an iron or heat press are vastly superior options.
Add branding to your gear with a simple attachment
Our custom brand logo iron-on patches can be tailored to your branding needs and you will enjoy an easy attachment, whether you use an iron or other method.
Can I Use As A Pressing Cloth For Iron-On Patches?
It is strongly recommended that you use a pressing cloth for ironing on patches, as it shields the patch and the fabric from direct heat. This can protect against issues like scorching or melting. Suitable materials for pressing cloths include a clean cotton pillowcase, a thin cotton towel, or some parchment paper.
Here’s how to use one:
- Place your patch on the fabric with the adhesive side down.
- Carefully cover the patch with the pressing cloth.
- Set the iron to the necessary temperature.
- Press firmly on the patch for the recommended time.
To get best results from this, make sure the cloth is clean. Avoid using thick fabrics that might absorb too much of the heat, and check the patch frequently to check the state of the adhesion.
How Do You Iron-On Patches At Home?
It is quite straightforward to iron on patches at home. First, you will need to gather the necessary tools:
- An iron
- Ironing board
- A clean cloth
- Your patches and garment
The first step is to preheat the iron to the appropriate setting for your fabric. Lay the garment flat on the ironing board and position the patch, adhesive-side down. Cover with the clean cloth then apply firm, even pressure with the hot iron for 15-20 seconds, aiming to heat the entire patch evenly. Allow it to cool before checking the adhesion and reapplying heat if needed.
Avoid steam throughout this process. Done correctly, this method will enable you to achieve a secure patch attachment at home.
Add a little flair to your garments
Within our custom designer iron-on patches, you can make your clothing look its best and express your style with a simple heat-activated attachment, whatever tools you use.
Start creatingDo You Use Water In An Iron For Iron-On Patches?
For ironing on patches, we do not recommend using water in the iron. Water is typically used to create steam, and this isn’t suitable for iron-on patches as it may interfere with the adhesion. Steam can also cause patches to lift or fail to adhere to fabric properly.
For iron-on patches, we recommend that you deactivate the steam function and use a dry setting. This maximizes your chances of achieving a secure, even bond. Using water could cause the heating to be uneven, or it could even cool areas of the adhesive.
If you accidentally use water in your iron, allow both the iron and fabric to cool completely before checking the patch adhesion. If necessary, reheat the iron with the steam function deactivated and reapply the heat to strengthen the bond. Always follow the instructions provided with your patch for optimal results.
Can You Iron On Patches With A Hair Straightener?
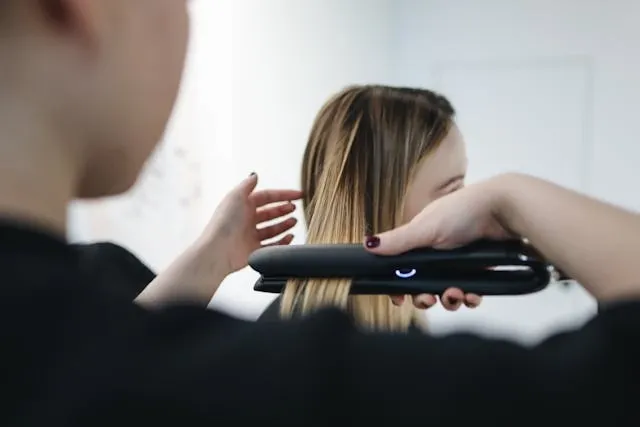
It may be effective to use a hair straightener to apply iron-on patches for small applications. But you must pay careful attention to achieve a proper adhesion without damaging your patch.
Here’s a step-by-step guide:
- Ensure your fabric is clean, dry, and free from wrinkles.
- Heat your hair straightener to a medium setting that is suitable for the fabric.
- Place the patch where you want it, adhesive-side down.
- Press the heated plates of your straightener firmly over the patch for 10-15 seconds, moving it slightly to ensure even heat distribution.
- Allow the patch to cool completely then test the adhesion and reapply heat if necessary.
Hair straighteners can provide even heat distribution with careful application. But they may not be the best solution for larger patches or thick fabrics. Always follow the manufacturer’s instructions and test on a small area before committing fully.
Best Iron Temperature For Iron-On Patches
The best iron temperature for iron-on patches depends on the fabric you are working with:
- Cotton and linen: Use a high temperature to ensure proper adhesion.
- Wool and silk: Select a low-medium heat setting to avoid damaging these fabrics.
- Synthetic fibers: Set to the lowest temperatures to prevent melting or scorching.
It is always best to start with a lower temperature and increase as needed when setting your iron. Keep the steam function deactivated and use a pressing cloth or parchment paper to help protect the fabric.
If you use too high a temperature, you can melt patches or damage fabric. If the temperature is too low, however, you may not activate the adhesive properly. Make the necessary adjustments as you go to match the fabric and get optimal results.

How Do You Iron-On Patches Without Melting Them?
Here are some tips to iron on your patches without melting them:
- Use the lowest effective temperature for your fabric and patch material and increase it if necessary.
- Place a pressing cloth or parchment paper over the patch before applying heat to protect the patch material.
- Keep the steam function deactivated during patch application.
- Apply heat in short intervals, as prolonged overheating could damage the patch.
- Allow the patch to cool completely before handling to minimize the risk of deforming it.
Follow these steps closely to effectively iron-on patches with minimal risk of melting them. If you are really concerned about this risk, you could try an alternative like our custom adhesive patches to apply to your clothing.
Frequently Asked Questions About Can You Use A Steamer For Iron-On Patches
Can You Use A Steamer For Iron-On Patches?
While it is possible to use this method, we strongly advise against using a steamer for iron-on patches. They are unlikely to provide the necessary heat, will not deliver the required pressure, and the moisture may interfere with the adhesion.
Is It Advisable To Use Steam For Iron-On Patches?
No it is not. There are alternatives to using an iron, like trying a heat press or hair straightener, but steam is never recommended as a good alternative because the moisture can interfere with the adhesive and weaken the bond.