How To Make Custom Embroidered Patches
Have you ever wondered how to make custom embroidered patches? They are extremely popular and widely used. In this guide, we will discuss embroidery patch making and explore other methods of obtaining custom embroidered patches. You will learn the initial steps involved in creating embroidered patches. We supply a step-by-step guide to making your own and some useful tips and tricks to getting the best possible results.

Key Takeaways
- It starts with design and choosing the best material
- Creating the patch requires some specialist equipment and sewing skills
- You have to finish the patch and choose how it will attach to clothing
- It can be done with a sewing machine or sewed by hand
- You must beware of copyright infringement
- Though DIY patch making is possible, it may be more efficient to order custom patches
Preliminary Steps to Embroidery Patch Making
If you are planning to create your own embroidered patch, there are a few preliminary steps you need to take before starting. These steps will help you achieve the best possible results in your DIY embroidery patch making. The preliminary steps involve creating your own design and selecting the appropriate materials to work with.
Designing Your Own Embroidery Design
You need to consider the purpose behind your design. Why are you currently researching how to make a custom embroidered patch? Perhaps you are a hobbyist who wants to create a patch dedicated to your favorite band or television show. Or maybe you are a small business owner looking for a cost-effective way to display your logo on a hat, clothing item, or bag.
Before you begin, it might be worth considering our custom embroidered patches. We offer affordable solutions with the following benefits:
- A professional service with guaranteed results
- Fast turnaround time, ensuring your patch will be delivered quickly
- Various personalization options to customize your patch according to your preferences
Creating embroidered patches that look great and withstand the test of time requires a range of skills and equipment. If you're determined to take the DIY approach, it's crucial to get the design right. It should effectively convey your message, combining images, text, and appropriate colors. Additionally, consider your embroidery skill level and avoid overly ambitious details unless you have ample experience.
There are several free templates available online that can be helpful for your design. These templates are designed to be the right shape and size, and some even feature simple designs that you can follow. Utilizing these templates, especially if you're a beginner, can be a wise choice. If you have a completely custom design drawn by hand, it's recommended to use embroidery software to digitize it. Alternatively, you can find online resources specifically aimed at embroidery patch making to assist you in this process.
Choosing the Best Material for Embroidery Patches
You will require various materials for your embroidery patch making. Along with a pre-made patch or a suitable fabric piece, you will need:
- A bamboo embroidery hoop
- Embroidery needles
- Embroidery scissors
- Sewing floss
- Fat quarters
- A lightbox
- Fabric marker or pencil
If you don't have access to a lightbox, a reliable light source that can be used for tracing your design is the best alternative. Sewing floss is a suitable choice for embroidery as it is easy to work with and available in a wide range of colors. Ensure you obtain the appropriate colors for your design to bring it to life.
We recommend using a fabric pencil instead of a pen since it avoids the risk of ink soaking through and staining the back of the fabric used for your patch. However, since the back of the patch will not be visible, this distinction is not crucial. Just make sure you have a reliable tool for drawing your design onto the patch base.
Once again, this process can be complex and heavily relies on your sewing skills to achieve a satisfactory result. If you lack confidence in sewing, we recommend considering our custom embroidery patch service, where you can obtain a perfect rendition of your unique design at an affordable price.

Step-by-Step Guide: How to Make Custom Embroidered Patches?
Now that you have your design prepared and have gathered the necessary materials for creating your custom patch, you are ready to begin the process. The following is a step-by-step guide on how to make custom embroidered patches by hand. Keep in mind that the final outcome will depend on your sewing skill level.
Creating the Embroidery Design
Your design will be more precise if it is digitized, and embroidery software is an ideal tool for this purpose. By digitizing your hand-drawn design, you can create an accurate digital image that can be optimized to the appropriate size for an embroidered patch. Additionally, you'll have the flexibility to select details such as the shape of the patch, making the overall process easier.
To create your design, follow these steps:
Select a Patch Shape:
- 1. Determine the desired shape for your patch, whether it's a traditional shape like a circle or rectangle, or a custom shape that suits your design.
Draw an Image and Select Colors:
- 2. Draw an image that can be translated into an embroidery design, considering details like shading and textures. Choose colors that complement your design.
Include Appropriate Text:
- 3. If desired, incorporate relevant text into your design, such as a slogan, name, or any other text element that enhances your patch's message.
Scan the Completed Image:
- 4. Use a scanner to create a digital copy of your completed design. This step is important to transfer your hand-drawn design into a digital format.
Digitize the Image using Embroidery Software:
- 5. Import the scanned image into embroidery software to create a digitized version of your design. This software will convert your image into a format that can be understood by an embroidery machine.
Print the Design:
- 6. Print the digitized design from the software so it can be used as a guide to trace the design onto your fabric or patch base.
Once you have completed these steps, you are ready to transfer the design onto the fabric and proceed with creating your embroidered patch.
Transferring the Design to Your Material
For this stage, you will need a lightbox, fabric pencil or pen, and your printed template. Follow these steps:
Illuminate the Lightbox:
- 1. Turn on the lightbox and place it on a flat surface. Make sure it provides sufficient illumination.
Position the Template:
- 2. Place the paper containing your printed template on top of the lightbox. Ensure it is securely positioned.
Place the Fabric or Patch Base:
- 3. Take your fabric or patch base and place it on top of the template, directly on the lightbox. The light shining through the template will enable you to see the design through the fabric.
Trace the Design:
- 4. Use the fabric pencil or pen to trace the design onto the fabric. Follow the lines of the template carefully, ensuring accuracy and clarity as you trace.
Once you have successfully traced the design onto the fabric, you are ready to move on to the sewing stage of creating your embroidered patch.
Embroidering the Design
Once the design is transferred, your embroidery patch making process is ready for filling in the colors. Whether you are creating a background for text or working with multiple sections of different colors, use a three-strand satin stitch to fill the spaces with your desired colors. Apply the stitch evenly and cover the entire designated areas, paying attention to details like lines and letters that require their own distinct colors.
After filling in all the larger spaces with the three-strand satin stitch, you can proceed to embroider the finer details. This step typically involves using black floss for the detailing, although you can choose any color you prefer. Utilize a backstitch technique for this stage to achieve a thick and precise line.
Lastly, create a border around the outside of the patch using your chosen color of floss. For a bold and thick layer, you can use a four-strand backstitch. This will provide a finished look to your patch and offer protection to the fabric along the edges.
Finishing the Patch
For the final stage of creating custom embroidered patches, you will need to add a backing. The simplest method is to use a heat-reactive self-adhesive backing that can be ironed onto your clothing, hat, bag or any other desired item. To do this:
Cut a Section of Backing:
- 1. Cut out a section of the heat-reactive self-adhesive backing that is large enough to cover your entire patch.
Adhere the Backing:
- 2. While your patch is still on the larger piece of fabric, apply the backing to the rear of your patch. Ensure it is securely attached.
Cut the Patch and Backing:
- 3. Using sharp fabric scissors, carefully cut as close to the edge of the stitches as possible. It may be necessary to use smaller embroidery scissors for more precise trimming. Trim away any excess fabric outside the border layer to achieve a polished and perfect-looking patch.
By following these steps, you can complete your custom embroidered patch and prepare it for application to your desired items.

Want to avoid the DIY work?
Work with us to create professional-grade custom embroidered patches with your personalized designs applied. You choose the size, shape, and application method, and our prices are competitive.
DIY: How to Make Embroidered Patches by Hand
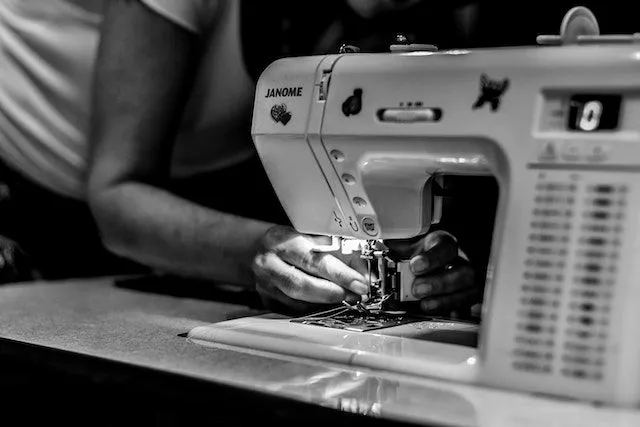
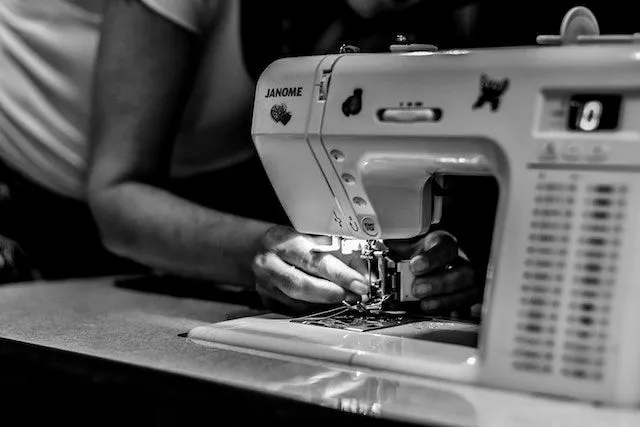
The process described in the previous section can be done using a sewing machine, which offers the advantages of faster and more accurate results. However, using a sewing machine for embroidery requires a strong skill level, especially when it comes to achieving precise lines.
Can embroidered patches be made by hand? Yes, they can! However, creating patches by hand will require an even higher skill level and more time to complete the work.
If you are truly determined to create embroidered patches yourself, you need to decide whether you will hand sew them or use machines. Consider your skill level, available time, and resources to make the best choice for your specific situation. Alternatively, take a look at our custom hat patch creation wizard and have your design professionally produced with no minimum quantity.
Can You Make Your Own Embroidery Patch?
As you can see, creating your own embroidered patch is indeed possible. With the necessary skills, time, tools, and resources, you can produce embroidered patches that look fantastic. One advantage of this approach is the sense of pride you'll feel upon completing your creation. Additionally, you have full control over every aspect of the process and the final result.
However, there are certain disadvantages to DIY embroidered patch creation:
- It requires a high level of skill.
- It is a time-consuming endeavor.
- You may not have access to a wide range of professional equipment for efficient production.
An alternative to making custom embroidered patches on your own is to use a professional service like ours. By choosing our service, you still have control over the design and specific details of your patch. Furthermore, you can enjoy the following benefits:
- Professional design consultation and production utilizing specialized technology.
- Precise and accurate recreation of your design.
- Multiple iterations available for mass production of your design.
- Fast turnaround time.
- High-quality patches with durable finishes and various attachment options.
In essence, opting for a specialist service ensures you receive a professionally crafted product that is visually appealing and built to last. The only drawback of using our service compared to the DIY approach is the cost. However, we make every effort to keep costs as low as possible while maintaining the quality of our work.

Tips and Tricks About Embroidery Patch Making
Here are some suggestions for achieving the best results when creating custom embroidery patches. These suggestions focus on ensuring a smooth creation process, taking proper care of your patches, and avoiding copyright infringements:
Keep designs fluid and use bold fonts:
- 1. Aim for designs that flow smoothly and incorporate bold fonts. It's important for all elements to blend well together, with the writing standing out. Utilize contrasting colors and avoid excessive details that may hinder the overall outcome.
Take care of your patches:
- 2. If your patches are iron-on, be cautious with warm cycles in the washing machine as they can wear away the adhesive. To maintain the longevity of your patches, it's advisable to keep them clean using cooler water and hand-washing methods. Alternatively, utilizing dry cleaners can provide maximum protection for your patches.
Beware of copyright infringement:
- 3. While replicating a design for personal use generally isn't an issue, it's crucial to exercise caution when using patches for work purposes or selling them. Avoid any breaches of copyright belonging to other parties to protect your own interests and respect intellectual property rights.
By following these suggestions, you can enhance the quality and durability of your custom embroidery patches while ensuring compliance with copyright laws.
Choose our cost-effective service to customize embroidered patches
We price our custom patch service competitively and can even offer generous bulk discounts when you order larger quantities, making professional patches even more accessible.
Check out our pricesFrequently Asked Questions About Making Custom Embroidered Patches
How to Make Custom Embroidered Patches?
You can create an embroidered patch by following these steps: designing the patch, digitizing the design, and then printing it out. Use the printed design to transfer it onto fabric, embroider the design, and finally cut it out to complete the patch.
Can You Make Your Own Embroidery Patch?
Yes, it is possible to create embroidered patches on your own, but it requires a significant amount of time and skill to achieve satisfactory results. As an alternative, we offer a fast, affordable, and professional solution for creating custom patches.