How To Make Patches With Embroidery Machine: Step-By-Step Easy Process
To make your own patches with an embroidery machine may seem like a daunting task, but it can be a fun and creative project with the right tools and techniques. With a simple step-by-step process, you can create high-quality embroidered patches with ease.
In this guide, we walk you through everything you need to know. Whether preparing the right supplies and materials to adding the final finishing touches to your patches, you’ll find all the tips and tricks you need right here.

Key Takeaways
- Learn the complete process of making patches with an embroidery machine with the right tools, materials, and techniques.
- You need to understand about fabric selection, digitizing designs, hooping, and using the correct stabilizers and backings.
- Sealing and finishing can be helpful to enhance the longevity of your patches.
- We supply high-quality custom embroidered patches in bulk quantities to offer a professional solution if the DIY process doesn’t work for you.
Table of contents
-
How To Make Patches With Embroidery Machine
-
What Do You Need To Make Patches With An Embroidery Machine?
-
What Stabilizer To Use For Embroidery Patches?
-
What Is The Best Backing For Embroidery Patches?
-
How Do You Seal Embroidery Patches?
-
How To Use Heat And Bond For Patches?
-
How To Make Patches Without An Embroidery Machine?
-
How To Cut Patches With A Hot Knife?
How To Make Patches With Embroidery Machine
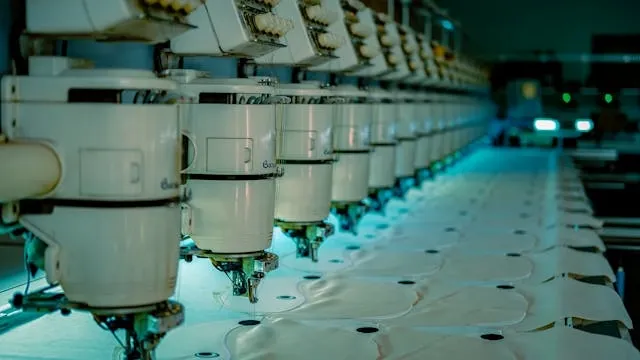
Creating custom patches with an embroidery machine is an efficient and professional way to produce high-quality designs. Here, we provide a step-by-step guide to walk you through the patch-making process, from gathering supplies to finishing the final product.
With the following method, you can create patches with clean edges and vibrant designs, whether this is a personal project or you are creating custom brand patches for your business. Machine embroidery patches are a versatile solution for personalizing clothing, accessories, and other fabric items.
It may take some practice to get it right, but here we share the knowledge and materials for you to quickly learn how to make patches with an embroidery machine.

Step 1: What Supplies Do You Need For Patch-Making?
Whether you are creating patches for your custom hoodie or a pair of jeans, you will need the right tools and materials:
- Embroidery machine: A machine embroidery patch maker is essential to achieve professional results.
- Thread: Choose high-quality embroidery thread in colors that match your design. Polyester is ideal for durability and sheen.
- Fabric: Choose a sturdy fabric like twill, canvas, or felt, as it must hold the stitches and withstand frequent use and washing.
- Stabilizers: A good stabilizer helps prevent fabric stretching during embroidery. There are tear-away and cut-away options.
- Backing: Depending on your plans, you could opt for iron-on, sew-on, or Velcro backing.
- Embroidery software: Digitizing software is important to convert designs into stitch files your embroidery machine can read.
Step 2: How To Prepare Your Base Fabric?
Preparing your base fabric is essential to ensure your embroidery patches have a professional finish. Here’s how:
- Cut: Cut the fabric to the desired patch size, leaving an extra inch around the edges for hooping.
- Stabilize: Put your stabilizer underneath your fabric and ensure it covers the entire surface. This will prevent fabric movement and promote even stitching.
- Align: A fabric adhesive spray or temporary fabric glue will ensure the fabric stays in place while you work.
Misalignment is a common issue when preparing fabric. Always double-check that the fabric is taut and properly centered in the hoop.
Step 3: How To Turn Your Design Into Stitches?
Before you begin embroidering, you must digitize your design into a format your machine can read. Here’s how to do it:
- Digitize the design: Embroidery software is key to this. Popular options include Wilcom, Embird, and TruEmbroidery. This will determine how your machine stitches your design, adjusting the order and density.
- Test run: Always test first on a scrap piece of fabric before you embroider your actual patch. This will help you ensure everything runs as expected.
- Final adjustments: If the design doesn’t look quite right, make minor adjustments in the software like changing stitch density.
This step is essential for making machine embroidery patches that look professional.
Step 4: How To Hoop Your Fabric And Stabilizer?
Hooping your fabric and stabilizer correctly is key to achieving perfect embroidery. Do it like this:
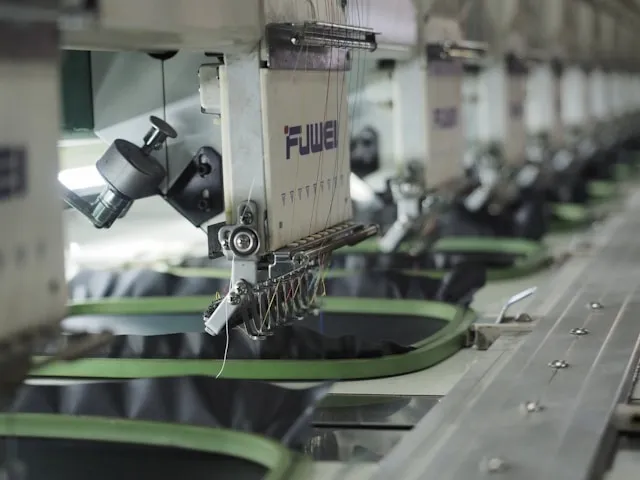
- Prepare the hoop: Choose a hoop size appropriate for the patch design. Tighten to ensure a secure grip to the fabric.
- Align fabric and stabilizer: Lay your fabric and stabilizer flat in the hoop. Ensure the fabric is smooth and evenly taut with no wrinkles.
- Secure the hoop: Tighten the hoop to hold the fabric in place. Double check positioning and alignment to ensure no movement occurs during stitching.
One common mistake is hoop burn, wherein the fabric gets distorted by the hoop. Make sure the fabric is taut but not overly tight. The embroidery machine market is growing, so opt for hardware that delivers high-quality results.
Step 5: How To Set Up Your Machine To Sew?
Getting your embroidery machine ready for stitching is crucial for smooth, even results. Studies have found that embroidery threads with different compositions result in different outcomes, so careful configuration is needed:
- Correct settings: Make sure you select the appropriate settings on your machine including stitch type, length, and density.
- Tension: Set the thread tension to ensure stitches are evenly spaced without puckering or pulling.
- Thread: Choose high-quality thread designed for embroidery. Polyester threads are durable and resistant to fading.
- Test: Before starting on the main design, run some test stitches on sample fabric to check your settings.
With proper adjustments, you can avoid poor-quality stitching and ensure good results with your machine embroidery patches.
Step 6: How To Process And Finish Your Patches?
After your machine completes the embroidery, it’s time to finish your patch. Here’s how:
- Trim excess fabric and stabilizer: Carefully cut away excess fabric around the patch, leaving about ⅛ inch of fabric around the stitch line.
- Edge treatment: Finish the edges by running a serging stitch around them or applying a heat-sealing method to stop fraying.
- Final check: Inspect the patch for missed threads, snags, or imperfections.
Once you have processed the patch, it can be attached to your project or used however you want to.

What Do You Need To Make Patches With An Embroidery Machine?
To make high-quality patches with an embroidery machine, a few essential items are necessary. First, an embroidery machine that can handle machine embroidery patches is crucial. Seek out machines that offer:
- Adjustable settings
- A variety of stitch options
- A hooping system that works for patches
You will also need fabric like felt, twill, or denim that can hold the embroidery without distorting.
In addition to this, you will need stabilizers to help maintain the fabric’s structure. Backing materials, whether iron-on, sew-ion, or Velcro, is important for attaching the patch once finished, and you will need good embroidery thread as well.
Before investing in all this equipment, check how much it costs to make custom embroidered patches with professional services like ours and determine which is the most cost-effective option.
What Fabric Do You Use To Make Embroidery Patches?
When making embroidery fabrics, the fabric you choose plays a role in both appearance and durability. Popular fabrics for patches include twill, felt, and denim:
- Twill: Durable, medium-weight, and commonly used for military or professional-style patches. This holds stitches well and stands up to wear and tear.
- Felt: Often used for more intricate designs, felt allows for precise stitching. It is soft but can fray, so you may need additional finishing around the edges.
- Denim: A rugged, casual choice, denim is sturdy and resists more aggressive use, but you may need a stronger needle to work with it.
When you work with us, we can supply custom embroidered name patches and other designs on high-quality materials with reliable results, bringing your patch designs to life with professional embroidery.
Want custom embroidered patches without the DIY hassle?
We create custom embroidered patches to bring virtually any design to life with high-quality craftsmanship and your choice of backing.
What Stabilizer To Use For Embroidery Patches?
Stabilizers are a key consideration when making embroidery patches because they prevent the fabric from shifting or stretching as you stitch. There are several types, and the best one to use depends on the fabric and design.
- Tear-away: These are great for lightweight fabrics like felt or cotton. Tear them off once the embroidery is complete.
- Cut-away: These are durable, so more effective on heavier fabrics like denim or twill. They stay on fabric even after stitching, supporting intricate designs.
- Water-soluble: Used to make patches with fine, delicate fabrics, these stabilizers dissolve in water.
Choosing the right stabilizer is as important as finding the best embroidery machine to create embroidery patches successfully.
What Is The Best Backing For Embroidery Patches?
Choosing the right backing is crucial for making embroidery patches. It will determine how the patch is applied, as well as its durability:
- Iron-on: This backing type is the easiest and fastest for attaching patches to fabric. It uses heat to bond the patch to the surface.
- Sew-on: This is more secure and durable, ideal for patches that need to withstand heavy use.
- Velcro: Ideal for patches that need to be removable or interchangeable.
When choosing your backing, consider the intended use of the patch. For instance, will you need to know how to remove your embroidered patches? Sew-on backings order long-lasting adhesions while iron-on backings are great for easy application and casual wear.
Enjoy the convenience of iron-on patches with custom embroidered designs
Whether you choose embroidered patches of anything else, create with us to enjoy different size and backing options and professional craftsmanship.
Learn moreHow Do You Seal Embroidery Patches?
- Different sealing methods to prevent fraying and enhance durability.
- Pros and cons of heat sealing, serging, and edge stitching.
- Application of adhesives and coatings for additional longevity.
Sealing embroidery patches ensures they last longer and maintain their quality when attached to jeans, baseball hats, and anything else. There are several methods:
- Heat sealing: This uses heat to melt the fabric slightly, creating a smooth, sealed edge.
- Serging: A serger machine is run around the edge of the patch to create a clean, finished border.
- Edge stitching: With a sewing machine, you can stitch a tight border around the patch to secure the fabric.
Sealing your patch edges helps maintain its integrity.
How To Use Heat And Bond For Patches?
Heat and bond is a popular solution for attaching patches, and it is particularly relevant to iron-on patches. Here’s the method to use it:
- Cut the Heat and Bond: Cut the adhesive to the size of your patch and place it on the rear side of the fabric.
- Iron the patch: Using a heated iron, press down on the Heat and Bond for about 10-15 seconds. The heat should be set to the correct temperature for the fabric type.
- Peel and attach: Once the adhesive cools, peel off the paper backing and place the patch on your desired surface before ironing against to secure in place.
This method is quick and effective for creating iron-on patches, particularly for lightweight fabrics.
Want an affordable solution to get custom embroidered patches?
You don’t have to take the DIY route. We offer custom cheap patches in a range of styles and materials, and you can even order in bulk with generous discounts.
How To Make Patches Without An Embroidery Machine?
If you don’t have an embroidery machine at your disposal, you can still make embroidered-style patches by hand or with a sewing machine. Here are your choices:
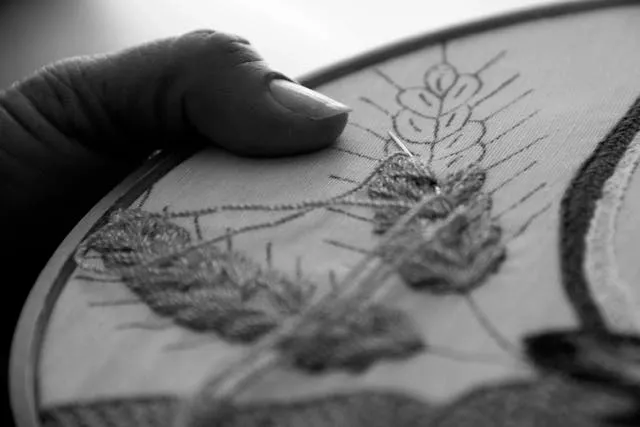
- Hand embroidery: This involves stitching your design manually with a needle and thread. It takes time, but offers a personal touch.
- Sewing machine: Use a standard sewing machine with an embroidery attachment to mimic the look of machine embroidery.
Both methods offer a DIY approach to making embroidered patches. Alternatively, you could explore options, like woven vs embroidered patch differences or other crafting methods.

How To Cut Patches With A Hot Knife?
Cutting patches with a hot knife offers precision with regards to trimming fabric edges. The hot blade melts the fabric, preventing fraying and leaving clean edges.
Here’s how it’s done:
- Heat the knife: Turn on your hot knife and wait until it reaches the required temperature.
- Cut the patch: Press the hot knife onto the fabric gently where you want to cut it. Move slowly so that the edge remains clean and straight.
- Safety precautions: Always wear gloves when you use a hot knife to prevent burns, and do the work in a well-ventilated area.
This method is perfect for cutting intricate designs and achieving professional-looking patches without frayed edges. Alternatively, you could work with us to create custom round patches and other shapes with professional finishes at competitive prices.
Create high-quality custom text patches with no hassle
With our custom text patches, you can create embroidered, text-based patch designs and enjoy precision manufacturing and wholesale options for your convenience.
Explore optionsFrequently Asked Questions About How To Make Patches With An Embroidery Machine
How To Make Patches With Embroidery Machine Easily?
A structured process is important. You need the right fabric, stabilizer, and backing material. Then you must digitize your design and ensure proper hooping and stabilizing before adjusting machine settings and carrying out the work.
What Stabilizer To Use For Patches?
The best stabilizer for embroidery patches depends on the patch design and intended use. Options include water-soluble, cutaway, and tear-away stabilizers, so explore them carefully.